I’ve only had the Sony NEX-7 for a couple of days, but I’m liking every part of it. I’ve read a lot of “rave” reviews and, mostly in forums, a lot of negative comments. But, from my perspective, it is a terrific camera!
It has 24 Megapixels with excellent higher ISO capability, 10 frames-per-second, lots of in-camera processing features (my favorite is the auto hdr), and size…it is so small and light! With the 16mm pancake lens it will fit in my pocket.
Some naysayers say that with the larger lenses like the 18-200mm, the size is no longer a factor, but it’s still much smaller and lighter than a normal DSLR with an 18-200 zoom on it, so I can live with that.
Sure, there is a shortage of E-mount lenses available (for now) but there are several adapters that allow you to use many amazing lenses made by other manufacturers. In fact, the Sony alpha-mount adapter even adds phase-detection focusing to the mix!
The other thing is the “Tri-Navi” control system. You pretty much have to try it to appreciate it, but it gives you very quick access to most of the settings you would use while shooting, like:
- program shift, exposure compensation, and ISO
- Image quality and auto-HDR settings
- focus and metering
- white balance
- and more
All without ever having to take your eye from the viewfinder…very nice!
And, speaking of the viewfinder, this new EVF (Electronic ViewFinder) is truly amazing. I know, it’s not on a par with a good optical viewfinder in all situations, like bright contrasty light or in low light situations. However, it gives you something that not even the best optical finders can provide – WYSIWYG. In general, what you see in the viewfinder is what the image will look like on your computer. Adjust the exposure or white balance and, instantly, you see how that image will look with those settings. In my opinion, that is very important! Some say, “Pro photographers don’t need that”. Well, maybe not, but I bet even the pros will get more and more enthusiastic about this capability as it is improved and more cameras have it.
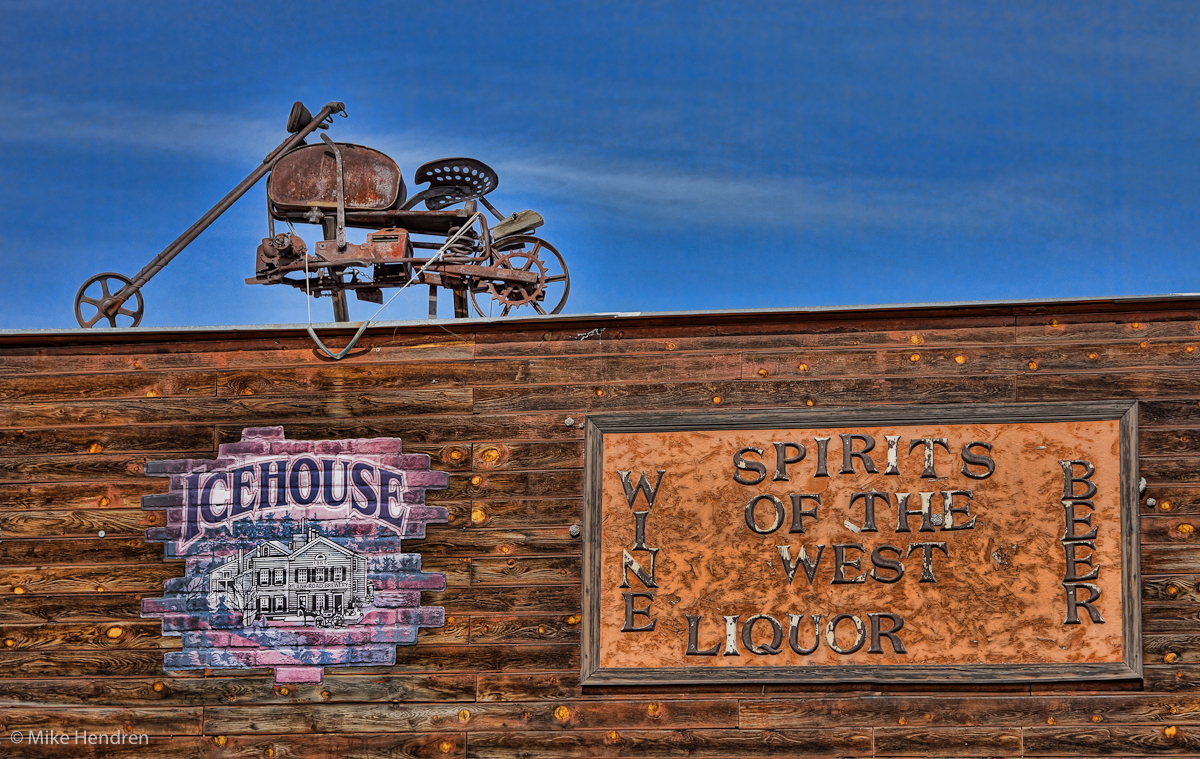
These images are from Sedalia, Colorado. They were shot, using the auto-HDR feature of the NEX-7 with a total of 6 EV spacing in 3 images. Then most of the processing was done with Lightroom 4 (beta) and the Spicify preset in Topaz Adjust.
These were with the new 18-200mm E-mount Sony lens and I’m very happy with it – great color and sharpness.
Thinking of switching cameras? I don’t think the NEX-7 would disappoint you! 🙂


 I had originally underexposed this image, using the Fujifilm X100, because I knew I really wanted to get the colors in those clouds, but Lightroom was able to save the photo. The “new” sliders in Lightroom 4 made this possible, using the settings shown here. What surprised me the most was just how much of the shadow detail I was able to salvage from what was an underexposed image. (See the original image, below)