I’m finding that the Olympus OM-D E-M1 has so many functions and features, and a few of them are not that easy to get to. The critically important ones that most photographers use are very easy to find and change (when the camera is setup properly), things like ISO, Drive Mode, Metering, etc. However, there are a few of the more esoteric, rarely used functions, that can be downright difficult to find and setup for use, so let’s take a look at some of these and how best to access them.
Most frequently used settings can be reached either directly with one of the buttons on the camera, in the Menu system, or by assigning it to one of the customizable buttons. And the beauty of the E-M1 is that most of the customizable buttons are available for the same settings … it’s just a matter of figuring out what works best for you. Be aware though, that a few of the functions are not directly available in the menus, and/or can only be assigned to specific buttons.

First, let’s consider the AF Stop mode. It’s not something that many of us will use and , quite frankly, is almost duplicated by the S-AF+MF function where the camera slips into manual focus mode after acquiring focus, just as long as you keep the shutter half pressed. AF Stop can only be assigned to one button, the Lens Fn Button, and few lenses have one. The only two that I have experience with are the 12-50mm and the new 12-40mm Pro lenses. Essentially, as long as this button is held down (if assigned to AF Stop), AF doesn’t function.
Here are a few more:
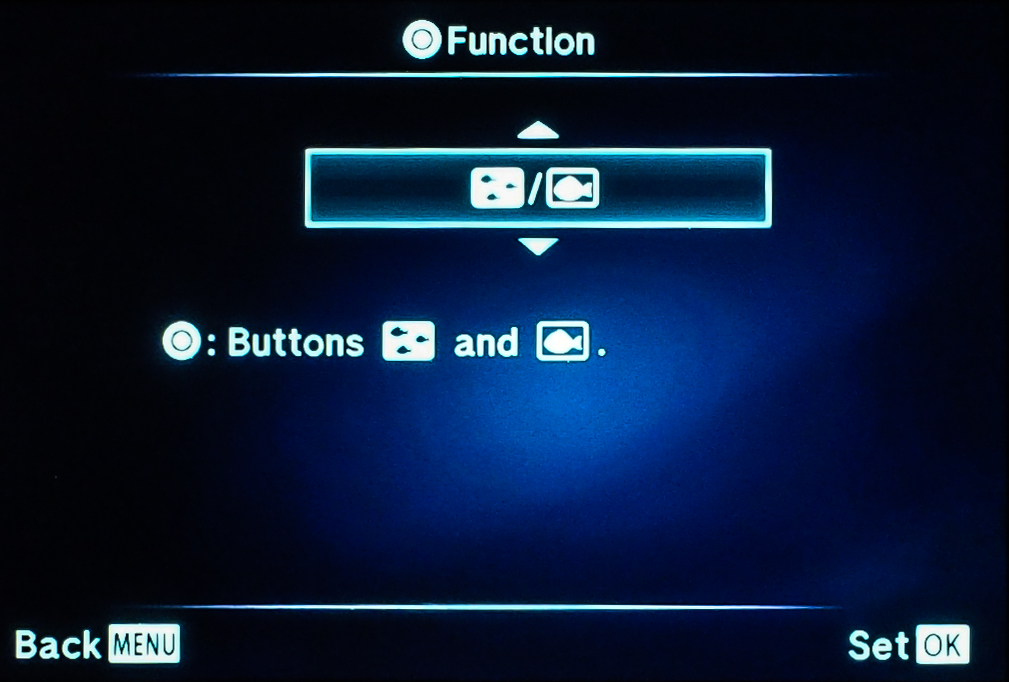
Electric Zoom can only be assigned to the Right or Down Buttons and only when the Arrow Pad is set to “Direct Function”. When set and then pressed, it allows you to use the Up/Down Buttons to zoom a lens that has electric zoom like the 12-50mm lens does.
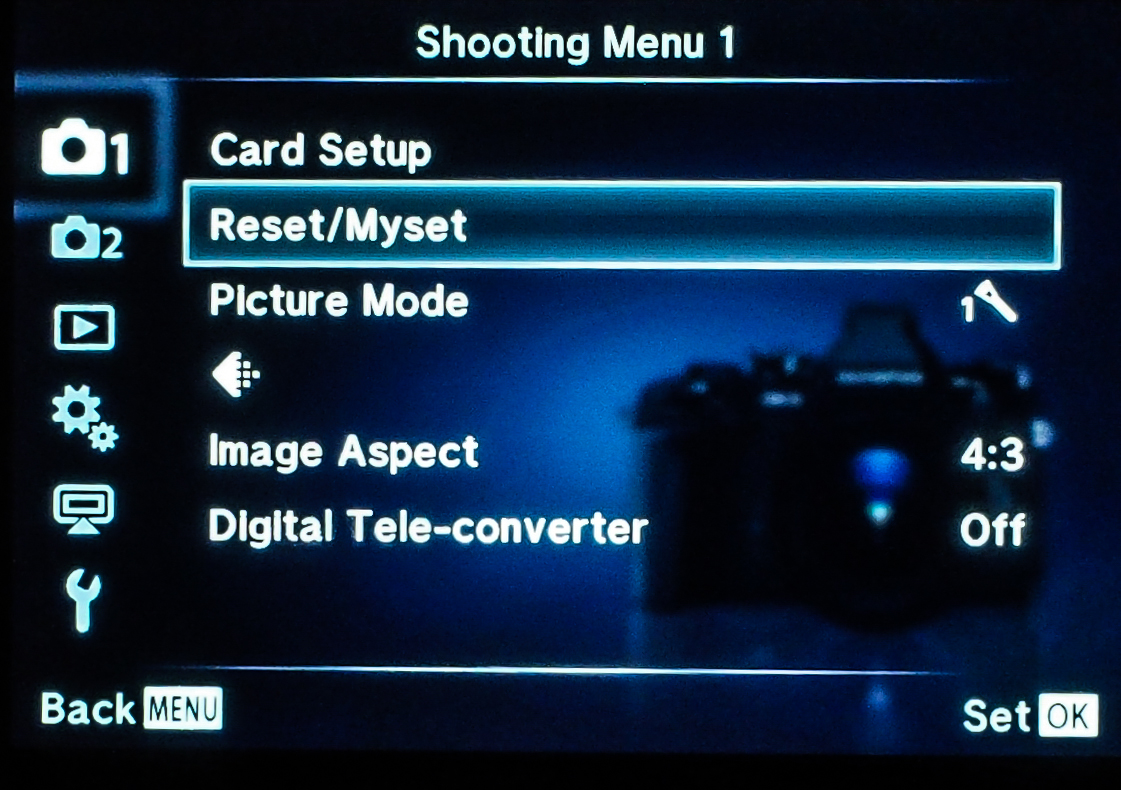
Mysets are setup in Shooting Menu 1, but then can only be used if assigned to one of the customizable Buttons (or a spot on the Mode Dial).
Multi Function is another one that can only be found when assigned to a Button, but is worthwhile because of its flexibility. It gives you access to Highlight and Shadow Control, Color Creator, Magnify, and Aspect Ratio. Highlight and Shadow control can only be found here and gives what is much like a tone curve graph to set the contrast of the image prior to the shot. Color Creator is not only available here, but can be found in the Super Control Panel, and allows almost infinite control over the color tone and saturation in your photo.
Test Picture can only be used when assigned to a Button and basically does what it says. It lets you take a “test” photo and view the result on the LCD, but does not save it your SD card.
DOF (depth of field) Preview: We all know what it does and need to know that the only place to get it is when assigned to one of the camera’s buttons.
Underwater Photography isn’t something that a lot of us will use this camera for, but it’s a very nice feature for those who do. And, of course, it must be assigned to a Button in order to be used. First, it tries to optimize the camera settings for shooting underwater, plus it allows the kit flash (the FL-LM2) to fire while in the down position, and also lets you zoom a lens with electric zoom (12-50mm), with a button push … nice things to be able to do when your camera is locked inside a waterproof housing.
This has been a very basic introduction to these features, and if you’d like more information feel free to send me an email. So I hope this helps a little bit in finding some of the “other” features that help make the E-M1 such an awesome camera. If any of you have found other ones, be sure and leave a comment so the rest of us can figure it out, too. 🙂